

Packaging Dieline Basics: What It Is, Who Owns It, and How to Verify One
What Is a Packaging Dieline? (And How to Read One)
A packaging dieline is the flat, 2D blueprint of your packaging: the drawing that shows where the material will be cut, folded, and glued before it becomes a finished box, cup, or sleeve. If your artwork is the paint, the dieline is the wall it has to be painted on. Everything you design has to fit inside its lines, or it will be cut off, folded over, or printed in the wrong place.
Two quick clarifications before we go further, because the terminology trips almost everyone at first. A dieline is not “die line packaging” as a physical process. That’s die cutting, the manufacturing step where a metal die punches your flat sheet into shape. The dieline is the drawing that tells the die-cutting machine where to cut. And if you’ve landed on a site called “The Dieline” while searching, that’s a packaging design magazine, not a template resource. Same word, completely different thing.
Every dieline carries the same set of technical lines, and knowing what they mean lets you read any template in thirty seconds:
| Line type | What it looks like | What it controls | What you must do |
|---|---|---|---|
| Cut line (trim) | Solid outline | Where the die physically cuts — the final edge of your package | Keep artwork inside it; extend backgrounds past it |
| Bleed line | Line outside the cut, usually 3 mm / 0.125″ | Extra print area so no white edge shows if the die shifts slightly | Extend background colors to this line |
| Safe area (margin) | Inset line inside the cut | Where logos and text must sit so nothing gets trimmed | Keep critical elements inside it |
| Fold/crease line | Dashed or colored line where panels bend | Where the package is scored and folded | Never place artwork text across it — it will crack at the fold |
| Perforation line | Short dashes | Where material is punched for easy opening | Design around it; it weakens the panel |
| Glue tab | Shaded tab outside the body | Where adhesive is applied to join panels | Extend the bleed over it, keep text away |
This table is the foundation of the whole article, so it’s worth the thirty seconds. A designer who reads a dieline correctly has already avoided the single most common cause of reworked packaging: artwork placed in a fold zone or outside the safe area.
Three Dieline Geometries: Boxes, Cups, and Sleeves
Not all dielines unfold the same way. Once you’ve seen a few, you’ll notice three distinct geometries, and mixing them up is the fastest way to ruin a print job.
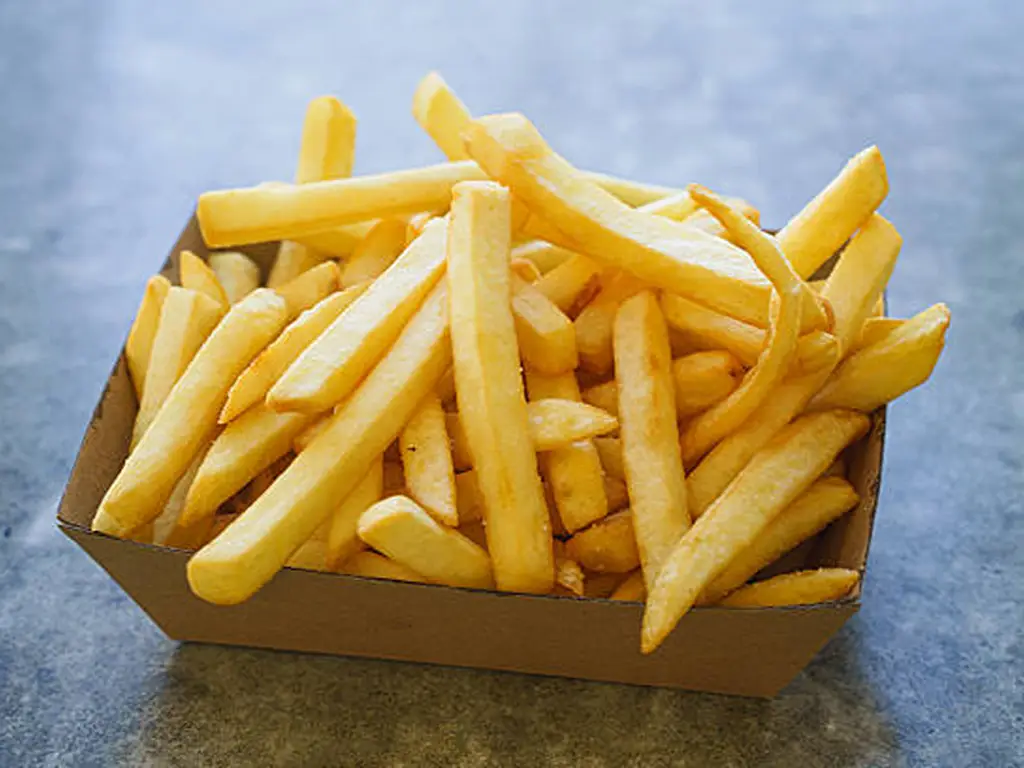
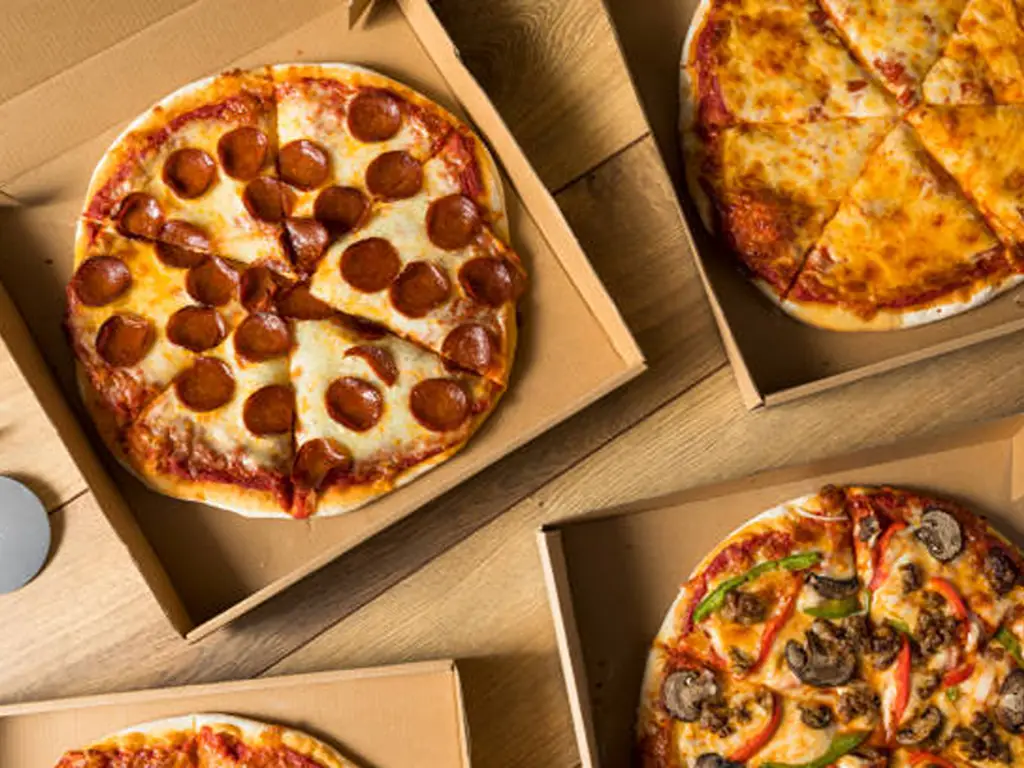
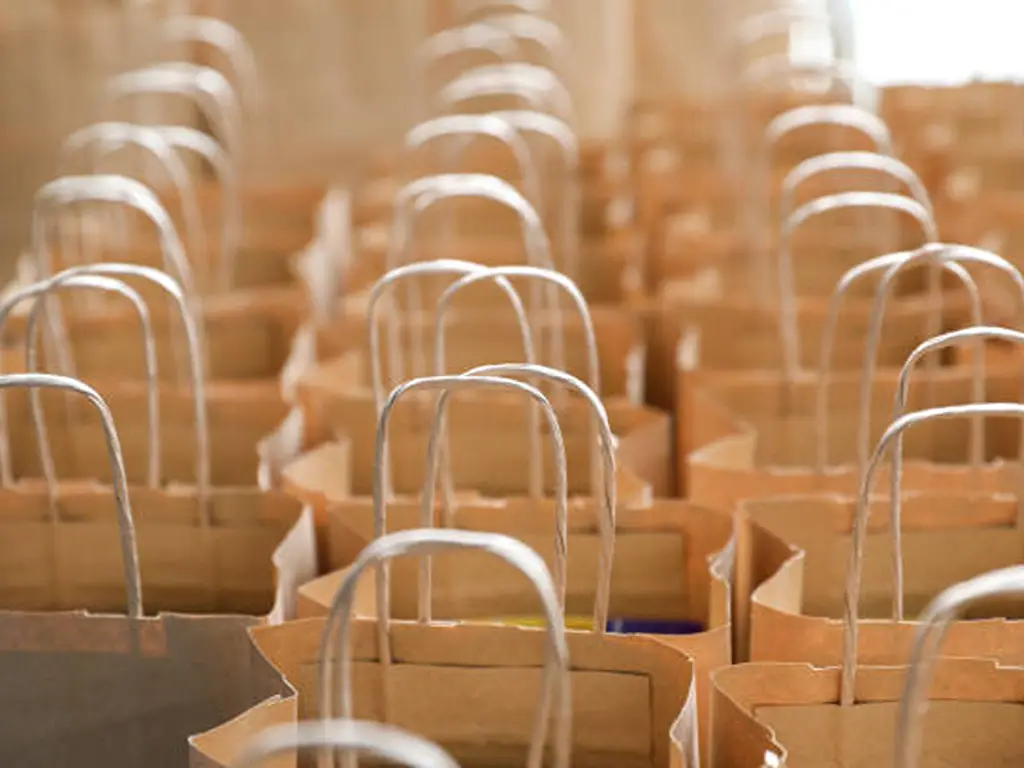
Rectangular dielines (boxes, bags, cartons, trays) unfold into flat rectangles with straight parallel edges. Artwork aligns on a simple 90° grid: four sides, four bleed edges, top and bottom flaps. This is the geometry most tutorials and template libraries assume, because it’s the easiest to draw — and it covers most of the takeaway line-up: burger clamshells, lunch and noodle boxes, pizza and bakery cartons, fry trays, and carry bags. Easiest to draw does not mean easiest to get right: the closure style (tuck end, crash-lock bottom, clamshell lock, cake-box window), the gusset folds and handle punch positions on a bag, and the width of every glue tab all live in the dieline, and each one is a place artwork can disappear.
Fanned dielines (paper cups) unfold into a fan or truncated-cone shape: the top edge is a longer arc than the bottom edge. A cup is a cone, and a cone never flattens into a rectangle. The two arcs are computed from the cup’s top and bottom diameters, because arc length = π × diameter. A 12 oz cup with a 90 mm mouth produces a top arc of roughly 283 mm; get the diameter wrong by a millimeter and the artwork will misalign at the seam. This is the geometry behind the “paper cup dieline” searches you’ll see online, and the reason cup templates cannot be improvised from a box template.
Wrapped dielines (cup sleeves, shrink bands) unfold into a shallow trapezoid or rectangle that wraps around a curved body. The wrap must account for the taper of the cup below it and the overlap where the sleeve is glued.
| Geometry | What it looks like flattened | Where it appears | Most common artwork failure |
|---|---|---|---|
| Rectangular | Flat rectangle, parallel edges | Boxes, bags, cartons, trays | Text in the fold zone |
| Fanned (truncated cone) | Two arcs, wider top edge | Paper cups, ice cream cups, food tubs | Pattern misaligned at the side seam |
| Wrapped | Shallow trapezoid / rectangle | Cup sleeves, bands, wraps | Overlap zone cuts off the design |
The boundary worth remembering: each geometry only works for its own structure. Taking a rectangular box template and forcing a paper cup design into it guarantees distorted graphics. The cup’s side wall curves, so a straight grid will visibly wrap and skew once formed. If you’re buying custom cups and the manufacturer hands you a fanned dieline with the size printed on it, that’s the sign of a supplier that actually forms cups. If they hand you a rectangle, ask questions before you send artwork. The same test runs in reverse for boxes and bags: a template that shows creases, glue tabs, and a locking bottom is a converter’s document; a plain outline is a picture of a box.
Who Owns the Dieline? Drawing Your Own vs. Using the Supplier’s Template
Here’s the question that divides experienced packaging designers from everyone else, and it’s a question SERP guides almost never answer: who is supposed to own the dieline, and who gets to change it?
The three sources of a dieline
1. You draw it yourself. In Illustrator, ArtiosCAD, or a browser-based generator, you lay out the structure from published dimensions. Full control over the design, and full responsibility for its accuracy. A self-drawn dieline is only as good as the production tolerance you know, which is usually the problem.
2. The print shop provides a template. Printers often supply dielines for the packaging they produce. This works when the printer is also the converter who forms your packaging. If they’re only printing, not die-cutting and forming the package, their template can’t carry the structure tolerances you actually need.
3. The manufacturer provides a size-specific template. A packaging manufacturer that runs 7 oz through 20 oz cups, or a range of box and bag sizes, typically maintains a library of dielines per size, with the bleed, safe area, and seam or glue-tab overlap already resolved. You download the template for your size, place your artwork inside it, and send it back. This is the industry norm for branded food packaging, and the reason matters.
The industry convention: the supplier owns the final spec
A thread on r/graphic_design about exactly this question (“Product packaging dielines: Who does what?”) is worth reading if you’ve ever wondered whether you’re being handed someone else’s job. The highest-voted working answer, from a designer with years of packaging experience:
“Anytime I’ve done packaging I get the dielines from the printer or packaging vendor. I do not change them, they provide the specs and I just insert my design within them. … Ultimately when dealing with a die the final is established by the vendor.”
The logic is mechanical, not political. A die is a physical steel plate cut to one exact shape. It costs real money to make, and it’s made to the converter’s machinery. A designer’s “improvement” of a dieline, moving a fold line 2 mm or changing a glue tab, is a change to a die that has to be re-cut at the factory. That’s why suppliers treat dieline edits as a production change, not a design request.
When a die is involved, the final spec is established by the vendor.
In the same thread, a designer dealing with a print shop that kept demanding file changes learned the hard way: “changing cutter guides every job would cost a fortune creating new dies every time.” When a vendor keeps asking you to alter their template, that’s not normal packaging practice. It’s a vendor-quality red flag worth raising with the client.
The trend: template tools vs. manufacturer services
One trend is reshaping this picture. Browser-based dieline generators (Pacdora, diecuttemplates, and similar) make it trivial to produce a generic dieline in minutes, and the search results for “packaging dieline” are now dominated by them. But a generic generator gives you a shape; it cannot give you the size-specific, production-validated template for the exact cup, box, or bag your supplier will run. Increasingly, the real divide isn’t “draw it yourself vs. use a generator.” It’s “a shape you generate vs. a spec a manufacturer will actually run.” For branded food packaging, the second is the one with the die behind it.
The boundary matrix: which source for which situation
| Situation | Best source | Why it works | When it fails |
|---|---|---|---|
| Structural innovation (new shape, new feature) | Designer-built dieline in ArtiosCAD | You’re inventing the structure — no template exists yet | Fails if you don’t know production tolerances; verify with a prototype before mass print |
| Standard packaging, you already know the vendor | Supplier’s template (print shop or manufacturer) | Die spec already matches their machinery | Fails if the vendor only prints but doesn’t form the package |
| Branded food packaging, custom sizes | Manufacturer’s size-specific template | Bleed, seam overlap, and safe area resolved for that exact size | Fails only if you need a structure they don’t offer — ask instead of forcing one |
| One-off DIY / craft project | Generic generator or hobby template | Cheap and instant; tolerances don’t matter at small scale | Fails at production scale: no die, no QC, no material spec |
Don’t fix the supplier’s dieline
Once a die exists, the template is the vendor’s document. Ask them to correct it — don’t fix it yourself and send it back.
One exception: a dieline not at 100% scale — see the verification section below.
How to Verify a Dieline Before You Send Artwork (Size, Bleed, Color)
The second thing experienced designers do differently from beginners: they verify the dieline before laying out any artwork. The cost of skipping this step is a reprint, and the mistakes working designers keep reporting are remarkably consistent. Here’s the verification sequence in the order you should run it.
1. Check the scale (the most common silent killer)
A recurring complaint on r/graphic_design is receiving a dieline that isn’t at true size. The working rule, from a 2025 thread on exactly this problem: a production dieline must be at 100% scale, and if the one you received isn’t, you request a corrected file. You do not scale it yourself. Scaling a dieline in software to “make it work” shifts every fold, seam, and glue tab relative to the die, and the errors compound silently.
The cheap physical test is the one first-timers swear by: print the dieline at 100%, cut it out, and fold it. If the printed version assembles into a correct cup or box, the template is coherent. If panels don’t meet or the fold collapses, the problem is upstream. Catch it before artwork, not after a press run.
2. Respect bleed and safe area — especially on curves
Bleed exists because cutting is never perfect: dies shift, material moves, and 3 mm (0.125″) of extra background is what hides that movement. Two rules cover most disasters:
- Extend background and photographic areas to the bleed line. Anything that must look “edge to edge” needs the extra margin.
- Keep logos, text, and barcodes inside the safe area, comfortably clear of the cut line and clear of fold zones.
On a fanned cup dieline, add a third check: nothing critical should sit within the seam overlap zone, where the side of the sheet is glued to form the cup body. Artwork that crosses that zone gets hidden or distorted at the seam. A good cup template marks this zone; if yours doesn’t, ask where it is before designing.
3. Manage color expectations before the first proof
A common complaint pattern in design forums: “the mockup color on the dieline doesn’t match what came back from the printer.” Usually, the dieline wasn’t wrong. The material was. Coated vs. uncoated board, fiber content, recycled content, and the coating itself all absorb ink differently, so the same CMYK values render differently on different board stocks — and differently again on kraft, which shifts every color toward brown. That’s why experienced brand owners don’t chase “exact match” against a screen mockup. They ask for a physical sample or a digital proof on the actual material, and they sign off on that, not on the mockup.
Two more file-level checks before sending anything: convert all fonts to outlines (a missing font silently substitutes on the vendor’s machine), and confirm the file is CMYK, not RGB. A red that pops on screen can print muddy on paper, because RGB’s gamut is wider than CMYK’s.
4. The pre-send checklist
Before you send your file
- Dieline at 100% scale (request corrected file if not)
- Printed-and-folded test passed
- Backgrounds extend to bleed (3 mm)
- Logos and text inside safe area
- Nothing critical in the seam overlap zone (cups) or under the glue tabs and folds (boxes, bags)
- Fonts converted to outlines
- Color mode CMYK, spot colors defined if required
- Mockup color expectations set against real material, not screen
Run this list once, and you’ve eliminated the causes behind nearly every “the print doesn’t look right” story on the forums. Run it twice on the first job with a new supplier.
From Dieline to Delivery: How Brand Owners Work with a Packaging Manufacturer
If you’re a brand owner — a coffee roaster, tea brand, ice cream chain, bakery, burger or fried-chicken concept, or food startup — you probably won’t draw a dieline yourself. You’ll work with a manufacturer who provides it. The full workflow looks like this, and knowing the steps in advance keeps the project from stalling at the artwork stage.
The five-step workflow
1. Choose your product and size. For paper cups that means picking the style (single wall, double wall, ripple) and the size, 7 oz to 20 oz, defined by mouth diameter and height. A 7 oz cup has a 73 mm mouth; a 12 oz cup measures 90 mm across. For a takeaway box or bakery carton it means the internal dimensions and the closure style; for a carry bag, width × gusset × height plus the handle type. Your manufacturer’s product pages list the exact dimensions per size, and the dieline you’ll get corresponds to that specific spec.
2. Get the size-specific dieline. A manufacturer that offers custom printing maintains a template library per size and style: fanned templates for cups and bowls, rectangular ones for boxes, cartons, trays, and bags. You download the template for your chosen size. This is the “paper cup dieline” you’ll hear designers talk about, and it’s already resolved for bleed, safe area, and seam or glue-tab overlap.
3. Place your artwork in the template. Design inside the safe area, extend backgrounds to the bleed, and keep the seam zone clear (the geometry from the earlier section). Suppliers typically ask for vector artwork in .ai, .pdf, or .cdr format, with any embedded images at 300 dpi or higher. Vector files survive scaling and printing without the degradation that bitmaps suffer.
4. Approve the digital proof. Before production, the manufacturer sends a digital proof of your design on the dieline. One working day is a reasonable benchmark to expect for this step. It’s the checkpoint where color and placement get signed off.
5. Sample, then mass produce. A physical sample follows quickly. Forty-eight hours is a realistic standard for standard samples, and only after you approve the sample does the full run begin. Lead times for standard custom orders typically run three to six weeks, which is why the dieline-to-proof stage matters: it’s the part of the timeline that’s fully in your control.
Why the manufacturer’s template matters more than a generic one
Remember the fanned geometry: the cup’s arcs are computed from its exact top and bottom diameters, and the artwork wraps around a curved surface. Boxes and bags have the same problem in a different shape — crease positions, glue-tab widths, and the material’s own caliper decide whether the panels meet squarely. A generic dieline generator has no idea what your manufacturer’s forming tolerances are. The manufacturer’s own template carries their machinery’s die spec, so the artwork you place in it is the artwork that will actually print correctly. Using the manufacturer’s template isn’t a convenience; it’s the difference between design files that sail through production and files that need two rounds of rework.
See your design on the real package before you commit to a run
Ask for the template for your size — cup, bowl, box, or bag — get a digital proof in one working day, and approve a sample before the full run.
Get a size-specific dielineThe Business Case: Adding Dieline Accuracy to Your Supplier Scorecard
Here’s the part most packaging advice never connects for you. Everything in this article, the geometry, the ownership convention, the verification checklist, points at one business conclusion: dieline accuracy is supplier capability, measured in advance.
The logic chain is short. The vendor owns the die spec, so the template they hand you is their machinery’s promise to you. Sizes are the most common silent failure, and they’re checkable in five minutes with a printed fold test. Color variance is material reality, and it’s manageable with a digital proof and a physical sample. None of this is exotic expertise, but each item separates suppliers that deliver first-time-correct packaging from suppliers that burn two proof cycles on every order.
If you’re a private-label brand without a dedicated structural designer on staff, this matters even more. Your entire design pipeline starts from someone else’s template, so “how accurate and how complete is the template library” is not a nice-to-have. It’s your first production decision. When you evaluate a packaging manufacturer, add three questions to the scorecard:
Three questions for your packaging supplier
- Template quality — size-specific dielines at 100% scale, vector format, bleed and seam or glue-tab overlap marked, across every product line you buy
- Proof and sample speed — digital proof within 1 working day, physical sample within 48 hours
- Design support — structure and artwork help available when your team doesn’t have a packaging designer
The supplier that answers all three with specifics is the supplier that has already solved the problems this article is about. The one that hesitates on “can I see the template before we commit” is telling you how the first order will go.
Need a dieline for your custom packaging before you commit? Yoonpak provides the size-specific template for whatever we print for you (cup, bowl, food box, or bag), sends a digital proof within one working day of your order, and ships standard samples within 48 hours — talk to our team about your dieline needs.
References
- r/graphic_design. “Product packaging dielines: Who does what?” Reddit. 2024. https://www.reddit.com/r/graphic_design/comments/1ca23b0/product_packaging_dielines_who_does_what/
- r/graphic_design. “Is it normal to get a dieline that is not true to size?” Reddit. 2025. https://www.reddit.com/r/graphic_design/comments/1jz1i3v/is_it_normal_to_get_a_dieline_that_is_not_true_to/
- PakFactory. “What is a Dieline in Packaging & Print?” 2023. https://pakfactory.com/blog/what-is-a-dieline
- Yoonpak. “Customizable Kraft Paper Cups — product specifications.” https://www.yoonpak.com/product-item/customizable-kraft-paper-cups/
- Yoonpak. “FAQ — lead times and sample policy.” https://www.yoonpak.com/faq/
- Yoonpak. “Paper Cup Manufacturer.” https://www.yoonpak.com/paper-cup-manufacturer/
- Yoonpak. “Contact.” https://www.yoonpak.com/contact/
- Yoonpak. “Home.” https://www.yoonpak.com/
Your custom packaging starts with the right template
Send us your artwork files and we’ll confirm the dieline, the digital proof, and the lead time before you commit.
Request a dieline quote


 English
  German
  Spanish
  Italian
  Dutch
Dutch  French
  Portuguese
  Russian
  Arabic
  Korean